
In a world increasingly focused on sustainability and environmental responsibility, upcycling has emerged as a creative and practical solution for those looking to breathe new life into their homes. Upcycling not only reduces waste but also allows individuals to express their creativity while creating unique décor items that reflect their personal style. If you’re on the lookout for fun and eco-friendly projects to spruce up your living space, this article will guide you through eight inspiring upcycled decor ideas that you can implement easily and affordably.
“`html
| Feature | Details |
|---|---|
| Project Type | Upcycled decor projects |
| Eco-Friendliness | Promotes sustainable living |
| Materials Used | Reclaimed or repurposed items |
| Skill Level | Varies from beginner to advanced |
| Cost Efficiency | Low-cost alternatives to new decor |
| Customization | Personalized design options |
| Environmental Impact | Reduces waste and carbon footprint |
“`
1. Glass Jar Lanterns
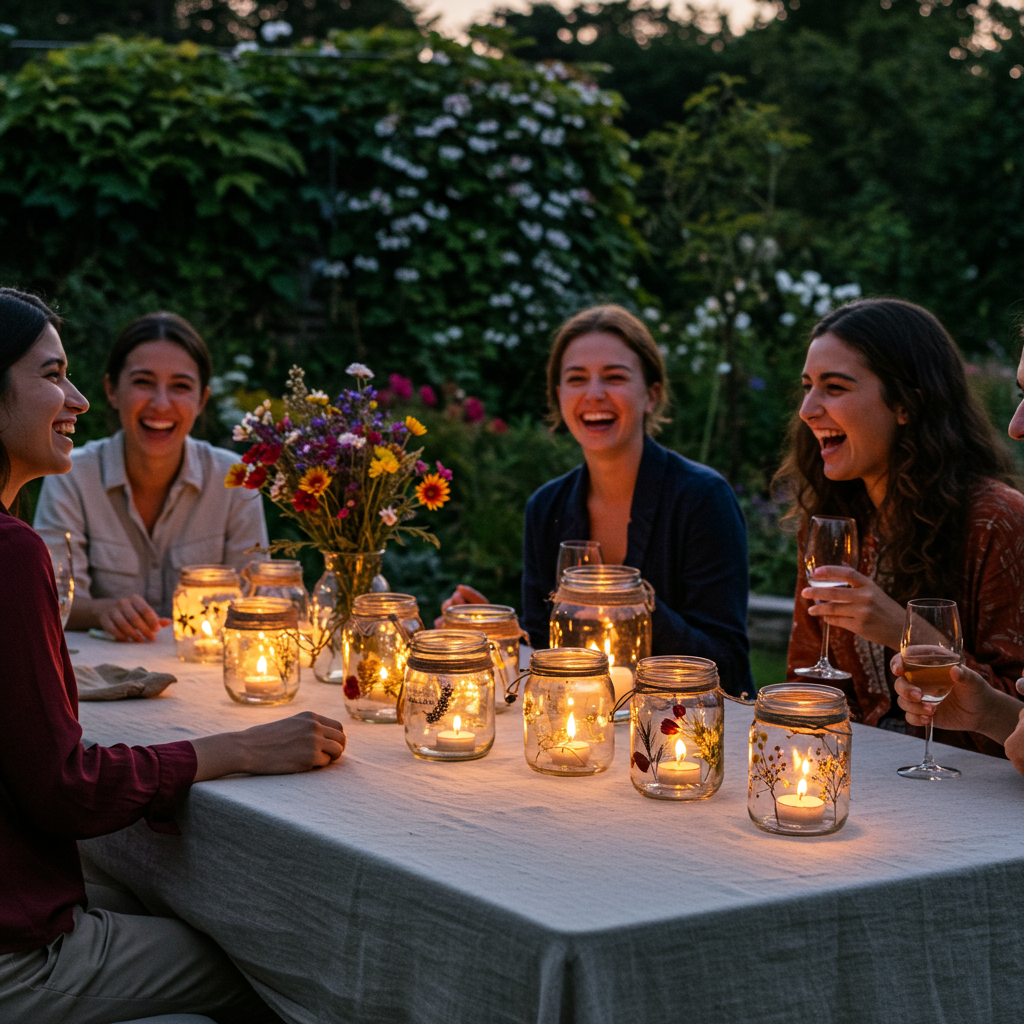
Transforming ordinary glass jars into beautiful lanterns is a fantastic way to add charm to any room or outdoor space. This project is simple, fun, and all you need are a few glass jars, some paint, and tealight candles or fairy lights.
- Materials Needed: Empty glass jars, acrylic paint or glass paint, paintbrushes, tealight candles or battery-operated fairy lights, twine or ribbon (optional).
- Instructions:
- Clean the glass jars thoroughly and remove any labels.
- Using a paintbrush, apply your chosen paint to the outside of the jar. You can create patterns or simply coat the jar in a solid color.
- Once the paint is dry, place a tealight candle or a string of fairy lights inside the jar.
- If desired, tie twine or ribbon around the neck of the jar for an added decorative touch.
These lanterns can be used to illuminate a cozy dinner on the patio or as a charming centerpiece for your dining table.
2. Upcycled Wooden Pallet Furniture
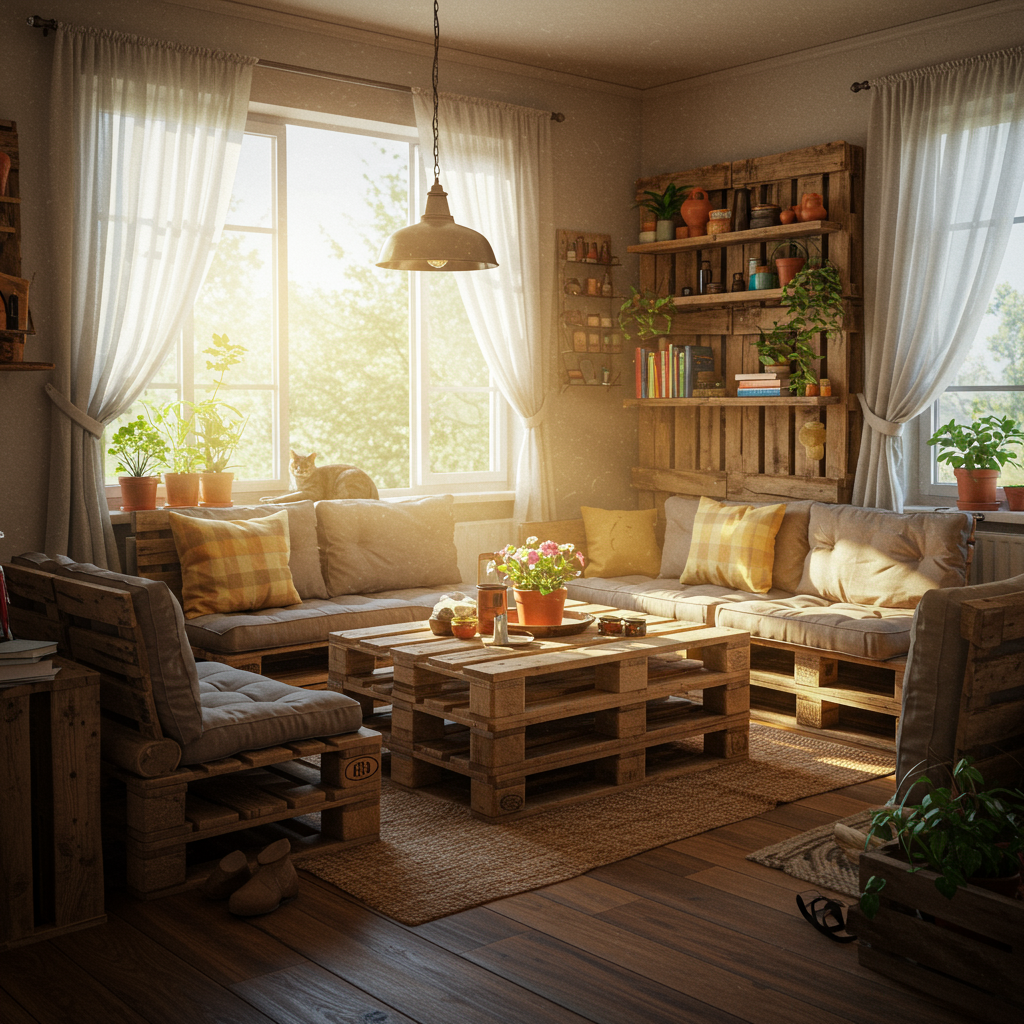
Wooden pallets are often discarded after their initial use, but they can be repurposed into stunning furniture pieces that add character to your home. With a bit of creativity and some basic tools, you can create everything from coffee tables to garden benches.
- Materials Needed: Wooden pallets, sandpaper, wood stain or paint, screws and nails, tools (screwdriver, saw if necessary).
- Instructions:
- Start by selecting a few sturdy wooden pallets. Depending on the piece you want to create, you may need to disassemble some pallets to use the individual planks.
- Sand down the wood to remove any rough edges and splinters.
- Stain or paint the pallets in your desired color to match your home décor.
- Assemble the pallets into your desired furniture piece and secure it with screws or nails.
With some finishing touches, such as cushions or a glass top for a coffee table, you’ll have a stylish, eco-friendly addition to your home.
3. Tin Can Planters
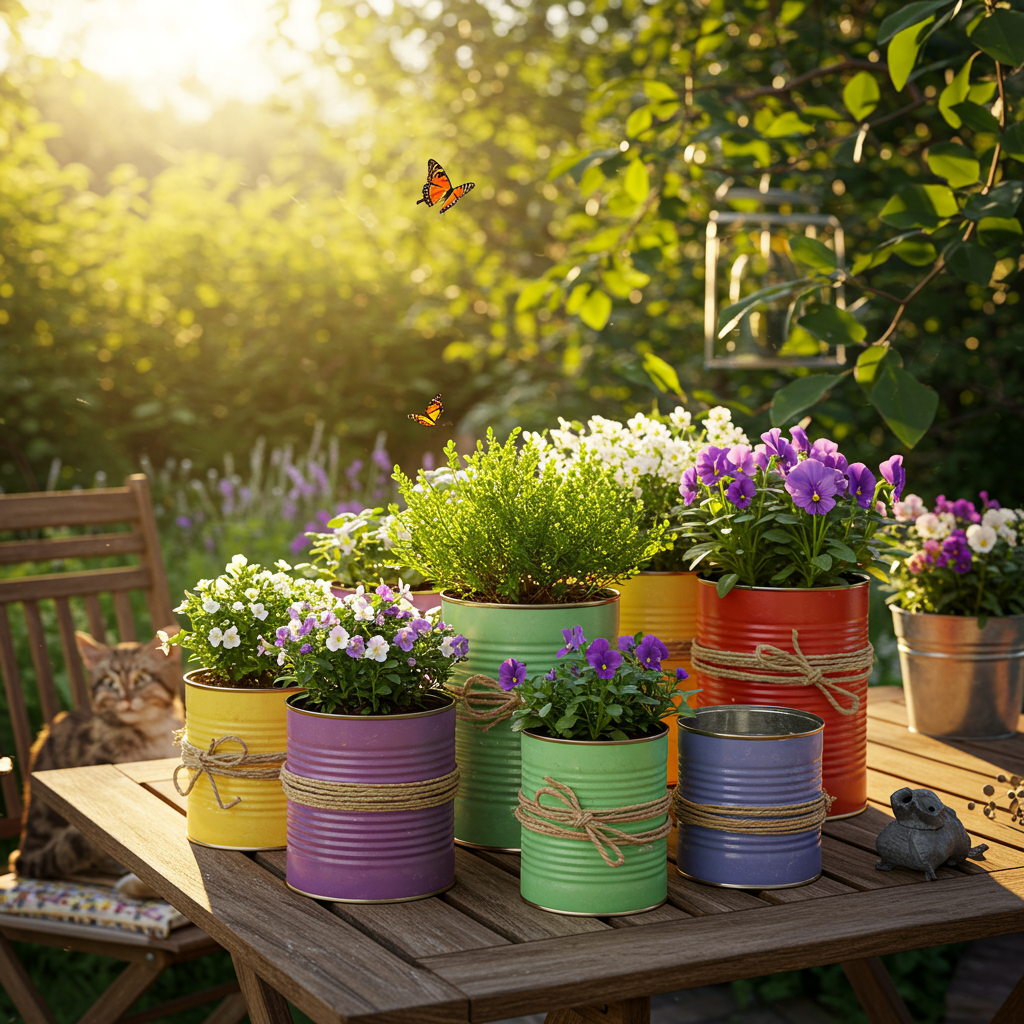
Don’t toss those empty tin cans! Instead, give them a second life as charming planters. This project not only enhances your indoor or outdoor garden but also contributes to a greener environment.
- Materials Needed: Empty tin cans, hammer and nail (or a drill), paint (optional), soil, and plants or seeds.
- Instructions:
- Rinse out the tin cans and remove any labels.
- Using a hammer and nail, poke several drainage holes in the bottom of each can.
- If desired, paint the exterior of the cans to match your décor.
- Fill the cans with soil and plant your favorite flowers, herbs, or succulents.
These tin can planters are perfect for adding a splash of color to your kitchen window sill or as an outdoor garden feature.
4. Wine Cork Bulletin Board
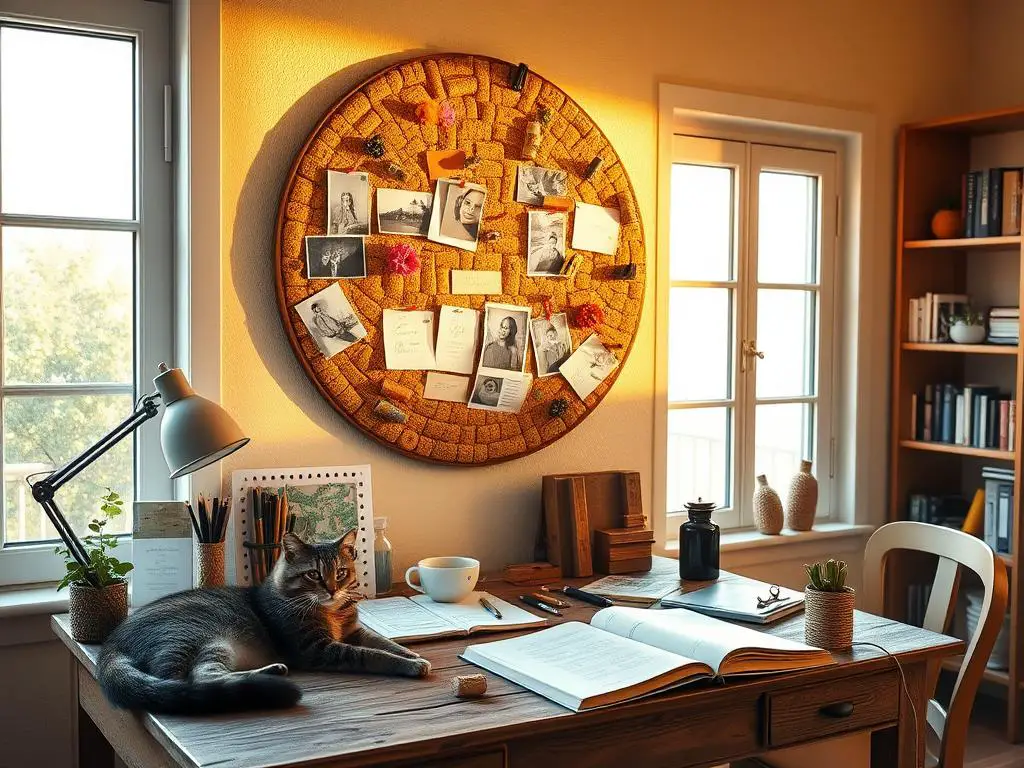
If you love wine, you probably have a stash of corks lying around. Instead of discarding them, why not turn them into a stylish bulletin board? This project is not only eco-friendly but also a practical addition to your home office or kitchen.
- Materials Needed: Wine corks, a picture frame (without glass), a hot glue gun, and scissors.
- Instructions:
- Remove the backing from the picture frame and set it aside.
- Start gluing the wine corks onto the frame, making sure to cover the entire surface. You can arrange them in a pattern or simply fill the frame.
- Once the corks are securely attached and the glue has dried, replace the backing and hang your new bulletin board.
This beautiful cork bulletin board is perfect for pinning reminders, photos, or artwork, adding a personal touch to your space.
5. T-Shirt Tote Bags
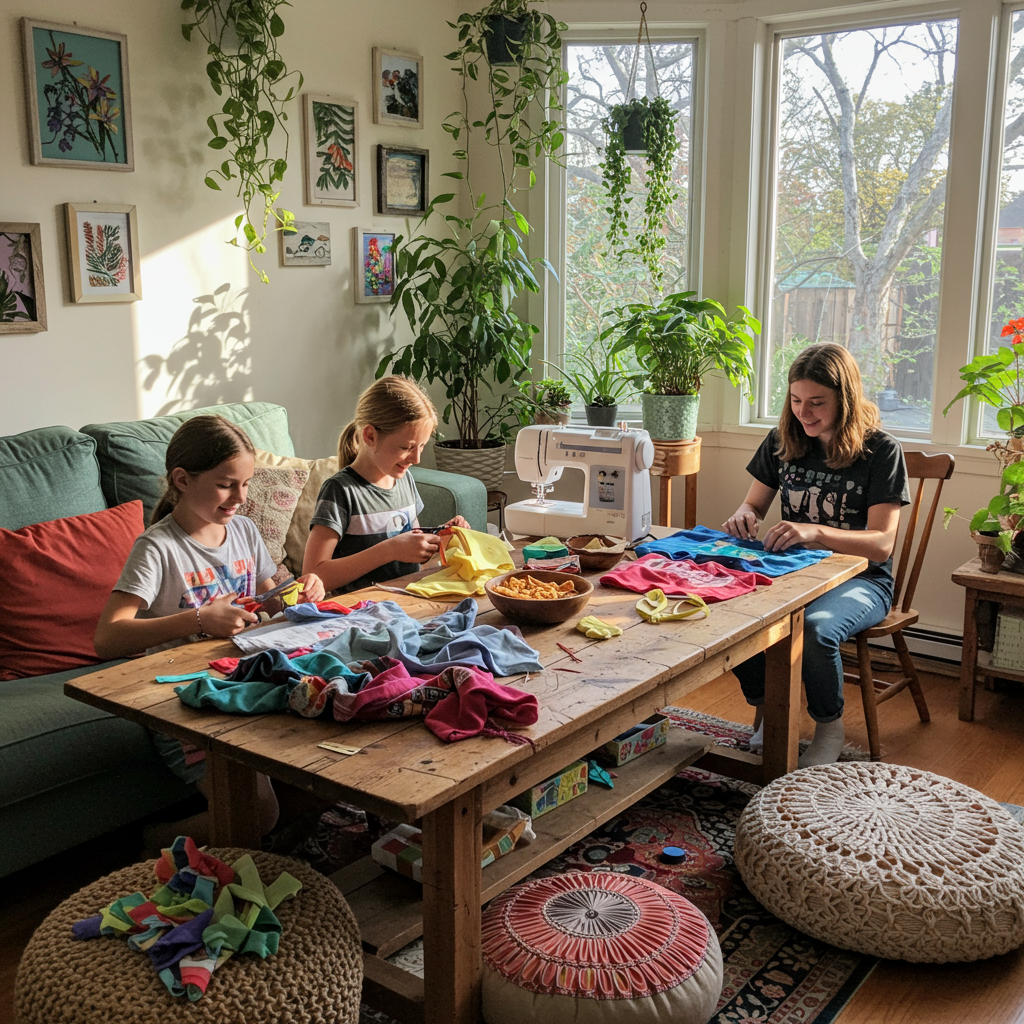
Old t-shirts can quickly find a new purpose as reusable tote bags. This project is not only practical but also a great way to reduce plastic waste while showcasing your personality through your choice of shirt.
- Materials Needed: Old t-shirts, scissors, and a sewing machine (or needle and thread).
- Instructions:
- Cut the sleeves off the t-shirt and cut a larger neckline to create the opening of the bag.
- Turn the shirt inside out and sew the bottom hem closed. You can also simply tie the bottom if you prefer a no-sew method.
- Turn the shirt right side out, and your tote bag is ready to use!
These tote bags are perfect for grocery shopping, beach trips, or as gifts for friends.
6. Fabric Scraps Wall Art
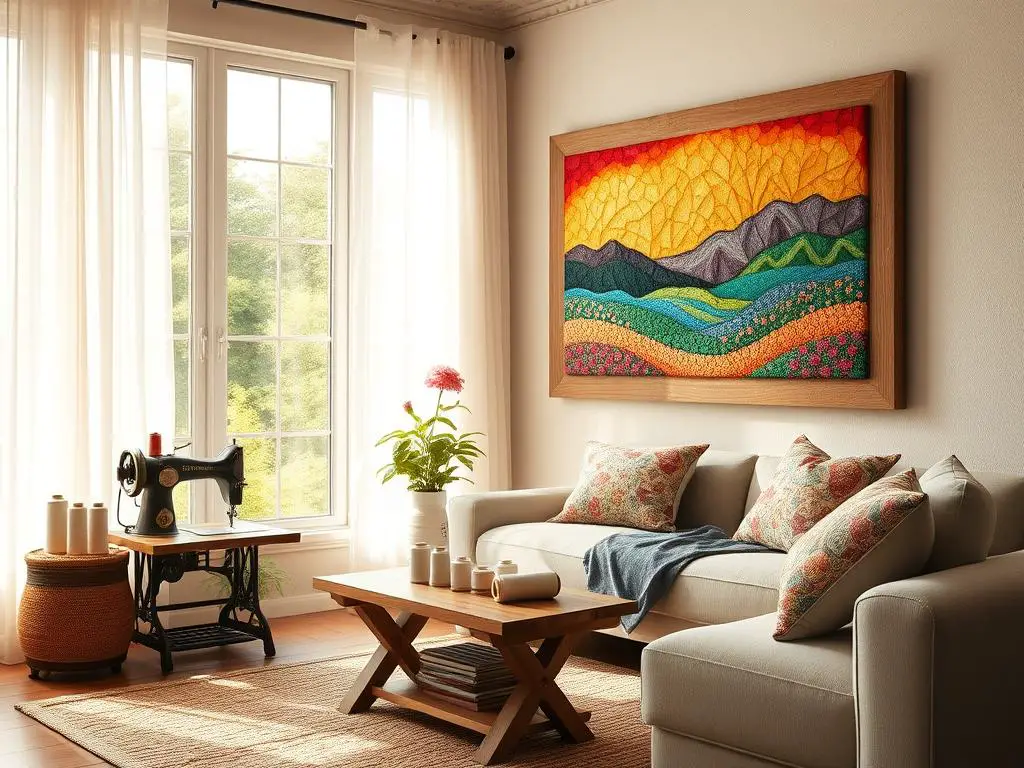
Instead of throwing away leftover fabric scraps from previous projects, consider turning them into colorful wall art. This project is a fun way to personalize your space and can be adapted to fit any aesthetic.
- Materials Needed: Fabric scraps, canvas or wooden board, fabric glue, and scissors.
- Instructions:
- Select fabric scraps in various colors and patterns.
- Cut the fabric into shapes or squares as desired.
- Use fabric glue to attach the pieces to the canvas or wooden board, arranging them in a creative pattern.
This fabric art can be a lovely focal point in your living room or a playful addition to a child’s room.
7. Upcycled Furniture Redesign
Instead of buying new furniture, consider updating what you already have. A fresh coat of paint, new hardware, or a creative finish can completely transform a piece and give it a new lease on life.
- Materials Needed: Old furniture, sandpaper, paint or stain, new hardware (if applicable), and brushes.
- Instructions:
- Start by cleaning and sanding the furniture to prepare the surface for painting.
- Apply your choice of paint or stain, allowing it to dry completely between coats.
- If needed, replace old hardware with new knobs or handles for a modern touch.
This project allows you to customize your furniture to suit your style, making it a rewarding and eco-friendly endeavor.
8. Bottle Cap Mosaic Art
Lastly, don’t let those bottle caps go to waste! They can be transformed into stunning mosaic art that adds a quirky and colorful touch to your home.
- Materials Needed: Bottle caps, a wooden board or canvas, strong adhesive, and optional paint or varnish.
- Instructions:
- Arrange the bottle caps on the board or canvas in a design that you like.
- Once you’re satisfied with the layout, glue the caps down securely.
- For added durability and shine, you can paint or varnish the entire piece once the glue is dry.
This unique art piece will surely spark conversations and is an excellent way to showcase your creativity.
9. Upcycled Denim Pocket Organizer
Do you have old jeans that are too worn out to wear? Instead of tossing them out, consider creating a chic wall organizer. This project is both functional and stylish, allowing you to use those denim pockets for storage in a creative way. Whether it’s for holding small tools in the garage or organizing craft supplies, this denim pocket organizer is versatile and easy to make.
- Materials Needed: Old denim jeans, scissors, sewing machine or needle and thread, a wooden frame or piece of cardboard (optional), and decorative embellishments (optional).
- Instructions:
- Cut out the pockets from the jeans, ensuring to include a bit of fabric around each pocket to allow for sewing.
- If you want a structured look, sew the pockets onto a wooden frame or a sturdy piece of cardboard. You can create a fun pattern or simply line them up.
- For added flair, embellish the pockets with decorative patches, fabric paint, or embroidery.
- Once everything is secured, hang your new organizer on the wall using nails or hooks.
This denim pocket organizer is not only a conversation starter but also a practical solution for decluttering your space.
10. Upcycled Picture Frame Herb Garden
Transforming an old picture frame into a stylish herb garden is a delightful way to both decorate your kitchen and grow your favorite herbs. This project is perfect for those with limited space who still want to incorporate some greenery into their home.
- Materials Needed: An old picture frame, chicken wire or mesh, small pots or plastic cups, potting soil, and herb seeds or small herb plants.
- Instructions:
- Remove the backing and glass from the picture frame, keeping only the frame itself.
- Cut a piece of chicken wire or mesh to fit the interior of the frame, and secure it in place using a staple gun or hot glue.
- Place small pots or plastic cups in front of the frame, filling them with potting soil and planting your herb seeds or plants.
- Hang the frame on the wall, making sure it is securely fastened, and water your herbs as needed.
This herb garden not only provides fresh ingredients for your meals but also adds a vibrant touch to your kitchen décor.
11. Upcycled Sweater Pillow Covers
If you have old sweaters that you no longer wear, consider turning them into cozy pillow covers. This upcycling project is straightforward and can add warmth and texture to your living space.
- Materials Needed: Old sweaters, pillow inserts (or old pillows), scissors, and a sewing machine (or needle and thread).
- Instructions:
- Cut the sweater into large squares or rectangles, depending on the size of your pillow insert.
- Place the front and back pieces of sweater fabric together, inside out, and sew around the edges, leaving one side open for the pillow insert.
- Turn the pillow cover right side out and insert the pillow. Sew or tuck the open side closed.
These sweater pillows are perfect for adding a touch of warmth to your couch or bed, and they can be customized according to the season or your décor style.
12. Vintage Suitcase Storage
Old suitcases can serve as unique storage solutions while adding a vintage flair to your home. This versatile project allows you to organize your belongings creatively and beautifully.
- Materials Needed: Vintage suitcases (or thrifted ones), cleaning supplies, and optional paint or embellishments.
- Instructions:
- Clean the suitcases thoroughly to remove any dust or dirt.
- If desired, you can paint the exterior of the suitcases or leave them as is for a more authentic vintage look.
- Use the suitcases to store blankets, toys, or even books. You can stack them for a stylish display or use them as a standalone piece in your living room or bedroom.
This storage solution not only helps keep your space organized but also adds character and nostalgia to your décor.
13. Upcycled Cutting Board Wall Art
Old cutting boards that have seen better days can be transformed into charming wall art. This project is a fun way to showcase your love for cooking while adding rustic décor to your kitchen.
- Materials Needed: Old cutting boards, sandpaper, paint or wood stain, and hanging hardware.
- Instructions:
- Sand down the cutting boards to remove any rough spots or old stains.
- Apply your choice of paint or stain to the boards, allowing it to dry completely.
- Add decorative phrases or designs using stencils or freehand if you’re feeling adventurous.
- Attach hanging hardware to the back of each cutting board and display them on your kitchen wall.
This cutting board wall art not only brightens up your kitchen but also serves as a functional piece for displaying recipes or culinary inspirations.
14. Upcycled Egg Carton Wreath
Egg cartons are often discarded without a second thought, but they make excellent materials for creating a charming wreath. This project is a fantastic way to add a touch of whimsy to your front door or wall.
- Materials Needed: Empty egg cartons, scissors, paint or spray paint, a cardboard circle base, and glue.
- Instructions:
- Cut the egg cartons into individual cups and paint them in your desired colors.
- Glue the cups onto the cardboard circle base, overlapping them to create a full look.
- Once the glue has dried, you can add embellishments such as ribbons or faux flowers for a finishing touch.
This colorful egg carton wreath is not only eco-friendly but also a delightful addition to your seasonal decorations.