Are you looking to elevate your home decor without breaking the bank? The secret to creating a luxurious atmosphere often lies in the art on your walls. However, investing in high-end artwork can be prohibitively expensive. Fortunately, you don’t have to spend a fortune to achieve a sophisticated look. With a bit of creativity and some DIY skills, you can craft stunning wall art that exudes elegance and style. In this article, we will explore ten DIY wall art projects that look expensive but are budget-friendly and easy to create.
“`html
| Feature | Details |
|---|---|
| Project Variety | Includes a range of styles such as abstract, nature, and geometric designs. |
| Materials Used | Common materials include canvas, wood, paint, and fabric. |
| Cost Efficiency | Projects are designed to be budget-friendly, often under . |
| Skill Level | Suitable for all skill levels, from beginners to advanced DIYers. |
| Time Investment | Most projects can be completed in 1-3 hours. |
| Customization | Encourages personal touches and customization to fit home decor. |
| Visual Impact | Designed to create a high-end look that enhances room aesthetics. |
“`
1. Gallery Wall of Framed Fabric
A gallery wall is an excellent way to create a focal point in any room. Instead of traditional framed prints or photographs, consider using beautiful fabrics. Head to your local fabric store and select a few pieces in complementary colors and patterns. You can frame them in inexpensive frames or even thrifted finds. The textures and patterns will add depth and interest to your wall, making it look like a curated art collection.
Materials Needed:
- Fabric scraps or remnants
- Picture frames in various sizes
- Scissors
- Glue or fabric adhesive (if needed)
Steps:
- Choose a theme for your fabric selection, such as botanical prints, geometric patterns, or solid colors.
- Cut the fabric to fit each frame and secure it in place.
- Arrange the frames on your wall for the best layout before hanging them.
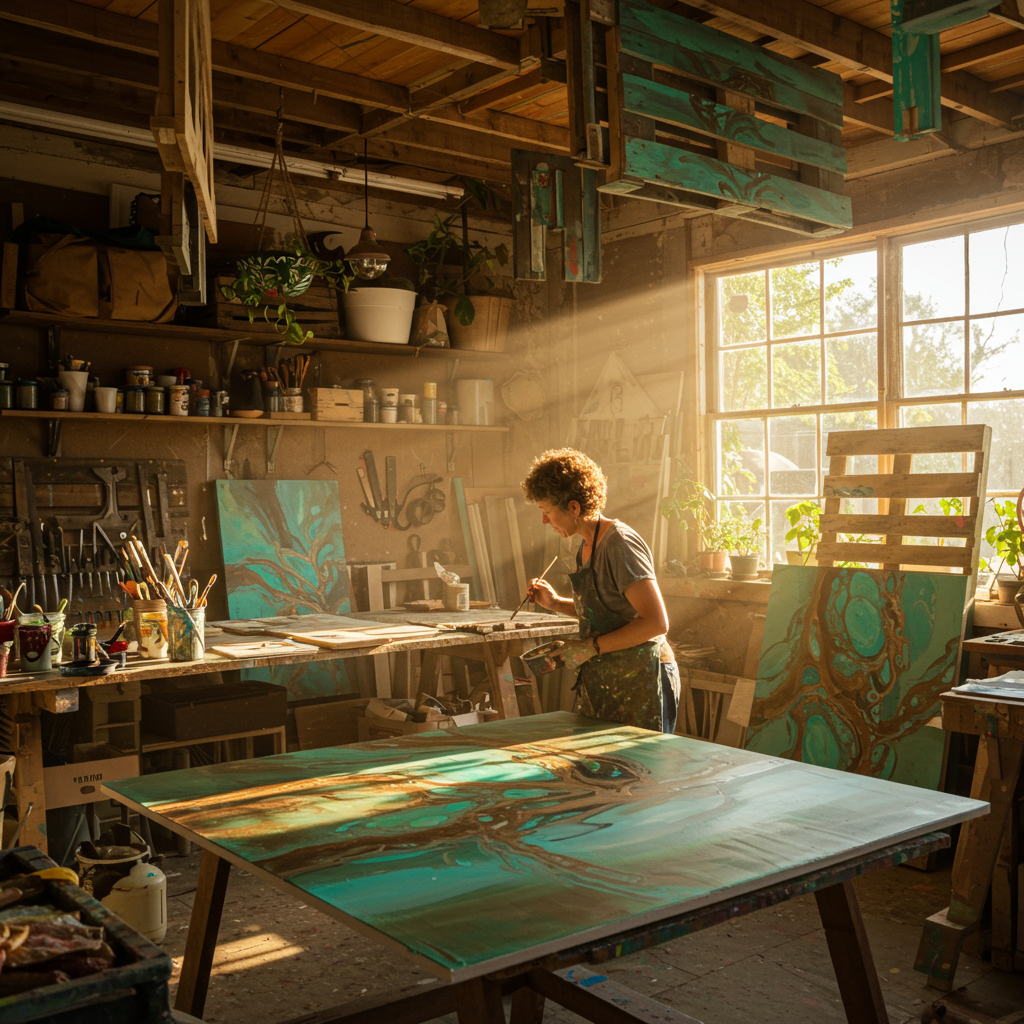
2. Abstract Canvas Art
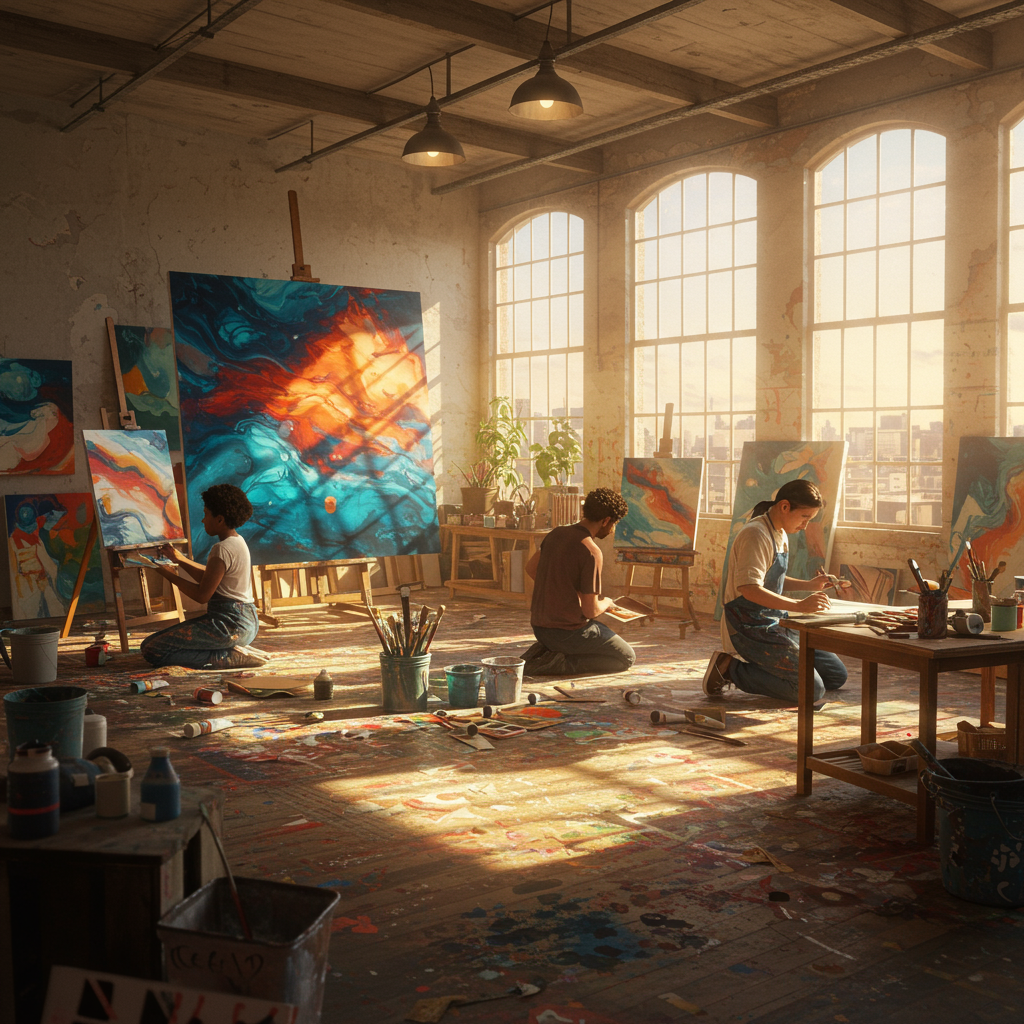
Creating your own abstract canvas art is a fantastic way to inject personality into your space. This project can be as simple or as intricate as you prefer, allowing you to play with colors, shapes, and techniques. Using acrylic paints, you can create a bold statement piece that looks like it belongs in a gallery.
Materials Needed:
- Canvas (pre-stretched or canvas board)
- Acrylic paints
- Paintbrushes and sponges
- Palette for mixing colors
- Water cup for rinsing brushes
Steps:
- Start by painting the canvas in a solid color as a background.
- Use different brushes and sponges to layer various colors and shapes on top.
- Let your creativity flow—there are no rules in abstract art!
- Once dry, hang it up and enjoy your masterpiece.
3. Woven Wall Hanging
Macrame and woven wall hangings are gaining immense popularity for their bohemian flair. You can create a stunning piece using yarn, rope, or even strips of fabric. This type of wall art adds texture and warmth, making it a perfect addition to any room.
Materials Needed:
- Yarn or cotton rope
- A wooden dowel or branch
- Scissors
- Measuring tape
Steps:
- Cut your yarn or rope into various lengths.
- Attach the strands to your dowel using a simple knot.
- Begin weaving or knotting the yarn as desired to create patterns.
- Once finished, hang it on your wall with pride.
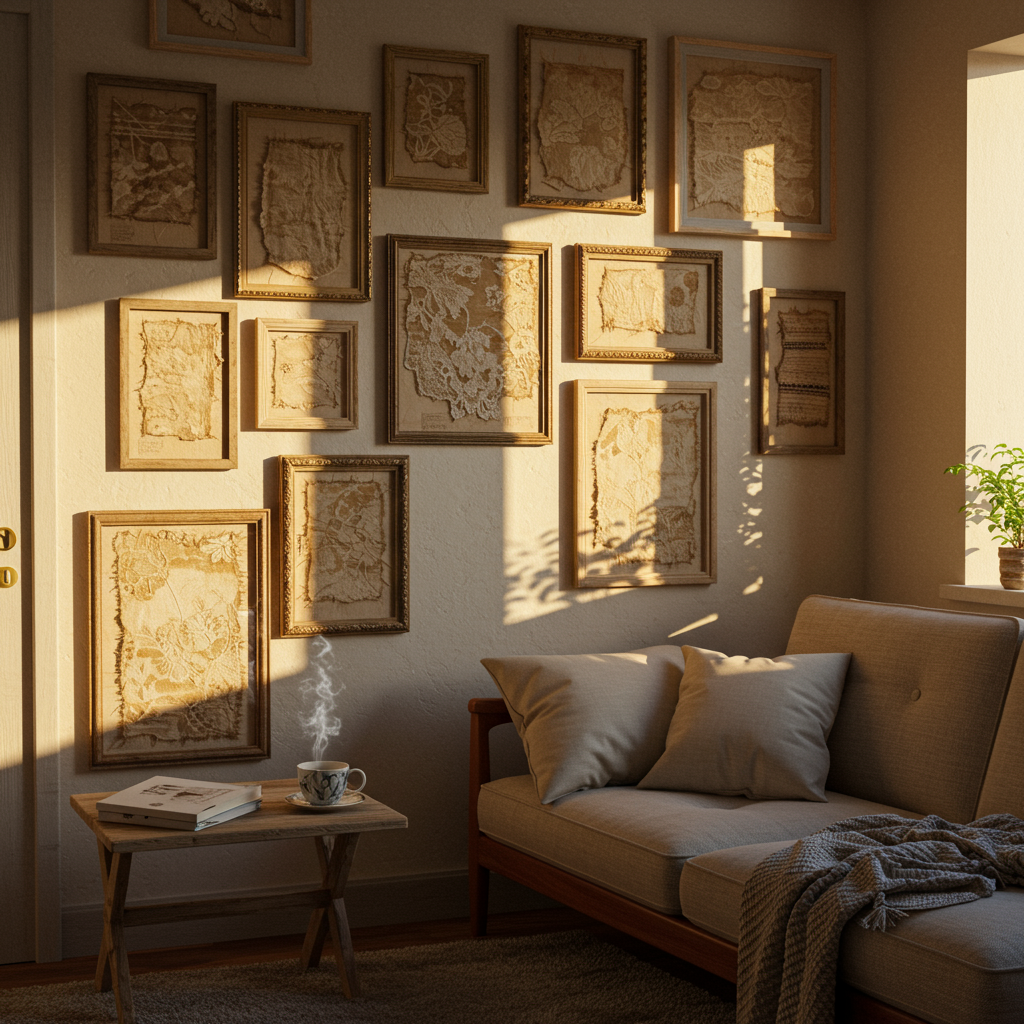
4. Botanical Prints
Bringing the outdoors inside has never been easier with DIY botanical prints. Gather leaves, flowers, or other natural elements, and use them to create stunning prints. This project is not only cost-effective but also allows you to customize your artwork to match your decor.
Materials Needed:
- Fresh or dried plants
- Watercolor paper or cardstock
- Paintbrush and watercolors (optional)
- Frame for display
Steps:
- Arrange your plants on the paper and press down to create an impression.
- If desired, use watercolors to add depth and color around the prints.
- Let it dry completely before framing.
5. Repurposed Wooden Pallet Art
Wooden pallets are not just for shipping; they can be transformed into stunning wall art with a little effort. This rustic look adds character to your space and makes a bold statement. You can paint, stain, or leave the wood natural for a true farmhouse feel.
Materials Needed:
- Wooden pallets
- Sandpaper
- Paint or wood stain
- Paintbrushes
Steps:
- Sand the pallets to smooth out any rough edges.
- Paint or stain the wood as desired, allowing it to dry completely.
- Hang the pallet art on your wall using appropriate hardware.
In the following sections of this article, we will continue to explore more DIY wall art projects that can enhance your home decor. From modern geometric designs to classic framed prints, the possibilities are endless. Keep reading to discover more ways to create art that looks expensive but fits your budget!
6. Stenciled Wall Art
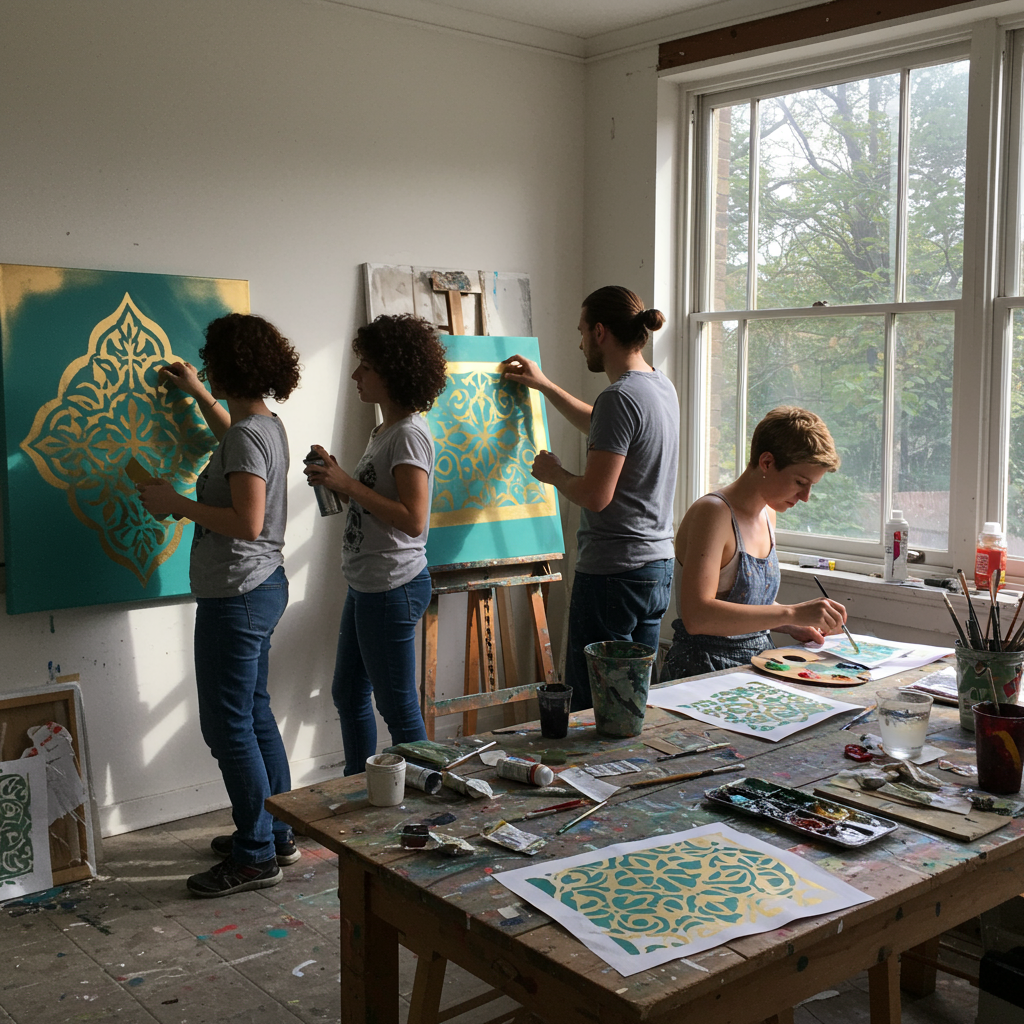
Stenciling is a fantastic way to create intricate designs without needing advanced artistic skills. Using stencils, you can transfer beautiful patterns and images onto your walls or canvases, giving your decor a polished look. This method allows for a wide range of designs, from floral motifs to geometric shapes, making it versatile for any room.
Materials Needed:
- Stencils (store-bought or homemade)
- Acrylic or spray paint
- Paintbrush or sponge
- Masking tape
- Canvas or wall surface
Steps:
- Select a stencil design that complements your decor style and choose your paint color.
- Secure the stencil to your canvas or wall with masking tape to prevent it from moving.
- Using a paintbrush or sponge, apply paint over the stencil, ensuring even coverage.
- Carefully lift the stencil to reveal the design, and let it dry completely before adding more layers if desired.
7. Photo Transfer Art

Photo transfer art allows you to turn your favorite photographs into unique artistic pieces. Using a simple gel medium, you can transfer images onto wood, canvas, or fabric, creating a beautiful and personalized display. This project is an excellent way to showcase memories in a creative manner.
Materials Needed:
- Printed photographs on regular printer paper
- Gel medium (matte or glossy)
- Brayer or paintbrush
- Canvas or wooden board
- Water and cloth for removal
Steps:
- Apply a layer of gel medium to the surface where you want to transfer the photo.
- Place the printed photo face down on the gel medium and smooth out any air bubbles.
- Allow it to dry for several hours or overnight.
- Once dry, dampen the paper with water and gently rub away the paper to reveal the transferred image.
- Finish with another layer of gel medium to seal the art piece.
8. Painted Wood Slice Art
Wood slices bring a rustic charm to your decor, and painting them adds a personal touch. You can create beautiful designs, quotes, or abstract art on wood slices, making them perfect for both wall decor and tabletop displays. This project is incredibly easy and can be enjoyed by crafters of all ages.
Materials Needed:
- Wood slices (available at craft stores or from fallen branches)
- Acrylic paints
- Paintbrushes
- Sealer (optional)
- Twine or hooks for hanging
Steps:
- Start by sanding the wood slices to create a smooth surface.
- Paint your desired design on the wood slice using acrylic paints; let your creativity shine!
- Allow the paint to dry completely. If desired, apply a sealer to protect your artwork.
- Attach twine or hooks for hanging, or use them as decorative accents on shelves.
9. Shadow Box Art
Shadow boxes are a 3D art form that allows you to create depth and dimension in your wall decor. They can be used to display mementos, natural elements, or themed collections. With a bit of creativity, you can turn everyday objects into captivating displays that tell a story.
Materials Needed:
- Shadow box frame
- Assorted items for display (e.g., dried flowers, photos, small trinkets)
- Hot glue gun or adhesive
- Background paper or fabric (optional)
Steps:
- Decide on a theme for your shadow box and gather your materials accordingly.
- Arrange the items inside the shadow box to find the perfect layout before gluing.
- Secure the items in place with hot glue or adhesive.
- If desired, add a decorative background using paper or fabric.
- Close the shadow box and hang it on your wall to showcase your creation.
10. DIY Wall Mural
If you’re feeling adventurous, why not try your hand at a DIY wall mural? This project allows you to transform an entire wall into a piece of art, making a bold statement in your home. It requires some planning and creativity, but the results can be breathtaking.
Materials Needed:
- Acrylic or latex paint in various colors
- Paintbrushes and rollers
- Pencil and measuring tape for sketching out designs
- Drop cloths to protect your floor
Steps:
- Choose a design or concept for your mural, such as a landscape, abstract shapes, or a quote.
- Use a pencil to lightly sketch the design on the wall, or use painter’s tape to outline areas.
- Begin painting your mural using a combination of brushes and rollers for different effects.
- Allow each section to dry before moving on to avoid smudging.
- Once complete, step back and admire your stunning wall art!
These DIY wall art projects not only enhance your home decor but also allow you to express your creativity and personal style. With some effort and imagination, you can create pieces that look professional and add character to your living spaces. Stay tuned for more tips and ideas on how to make your home a reflection of your unique taste!
11. Embroidery Hoop Art
Embroidery hoop art is a delightful way to incorporate textile art into your home decor. Using embroidery hoops, fabric, and threads, you can create charming designs that add a handmade touch to any room. This project is perfect for those who enjoy sewing or want to try their hand at stitching.
Materials Needed:
- Embroidery hoops in various sizes
- Fabric of your choice
- Embroidery floss or thread
- Scissors
- Needle
Steps:
- Choose a fabric that complements your decor and cut it to fit the embroidery hoop.
- Place the fabric over the inner hoop, then press the outer hoop down to secure it tightly.
- Using embroidery floss, stitch your desired design or pattern on the fabric, such as florals, quotes, or geometric shapes.
- Once finished, trim any excess fabric and hang your hoop art on the wall.
12. DIY String Art
String art is a captivating way to create intricate designs using just nails and string. This project allows for tremendous creativity, as you can choose any shape or word to craft. String art adds a playful yet sophisticated touch to your decor, making it a fun activity for all ages.
Materials Needed:
- Wood board or canvas
- Small nails (or tacks)
- Embroidery thread or string
- Hammer
- Pencil for sketching
Steps:
- Sketch your design lightly on the wood or canvas surface using a pencil.
- Hammer nails along the outline of your design, placing them about an inch apart.
- Once all nails are secured, tie the string to one nail and begin wrapping it around the nails to form your desired pattern, following the outline and filling in as you wish.
- When you’re satisfied with your string design, tie off the string at a nail and trim any excess.
13. Painted Rock Art
Painted rocks can serve as charming and whimsical wall art or decorative accents. This art form allows you to express your creativity simply and beautifully. Gather some smooth stones, and let your imagination run wild with colors and designs!
Materials Needed:
- Smooth, flat rocks
- Acrylic paints
- Paintbrushes
- Sealer (optional)
Steps:
- Clean the rocks thoroughly and let them dry completely.
- Using acrylic paints, create your desired designs on the rocks. You can paint animals, patterns, inspirational words, or abstract art.
- Once the paint is dry, apply a sealer if you want to protect your artwork for outdoor display.
- Arrange your painted rocks on shelves, in a bowl, or create a rock art display on the wall!
14. Fabric Wall Art Panels
Fabric wall art panels are a creative way to add color and pattern to your walls. You can stretch fabric over wooden frames or canvas to create textured art pieces that bring warmth to your space. This project is particularly appealing for those who love textiles.
Materials Needed:
- Canvas or wooden frames
- Fabric in various patterns/colors
- Staple gun or fabric adhesive
- Scissors
Steps:
- Cut the fabric to size, allowing extra material to wrap around the edges of your frame or canvas.
- Stretch the fabric over the frame and secure it with a staple gun or fabric adhesive, ensuring it is taut and smooth.
- Repeat this process with different fabrics and sizes for a cohesive look.
- Hang the fabric panels on your wall to create a colorful and inviting display.
15. Mosaic Art
Mosaic art involves creating images or patterns by assembling small pieces of colored glass, stone, or tile. This project can be as simple or complex as you’d like, allowing you to express your creativity. Mosaic art can become a stunning centerpiece in your home.
Materials Needed:
- Base for the mosaic (wood, canvas, or a sturdy board)
- Colored tiles, glass, or stones
- Adhesive (like glue or mortar)
- Grout (optional)
- Sealer (optional)
Steps:
- Sketch your design on the base material to guide your placement of tiles.
- Begin applying adhesive to the base and place your tiles or pieces, following your design.
- Once the adhesive is dry, apply grout if desired to fill in gaps, then wipe off excess grout from the surface.
- Seal your mosaic art to protect it and allow it to dry thoroughly before hanging.
With these additional DIY wall art projects, you have a wealth of creative options to enhance your home decor. Each project provides a unique opportunity to express your artistic flair while keeping your budget in check. Whether you’re a seasoned crafter or a novice, these ideas can inspire you to create stunning pieces that elevate your living spaces.